Email is one of those features that every web app needs and almost nobody enjoys setting up. You need transactional emails for things like order confirmations. You need a newsletter subscription flow for marketing. You need rate limiting so your endpoints do not get abused. And you need all of it to work reliably in production from day one.
Plainform ships with email already handled. This post walks through exactly how it works, from the Resend client setup to the React Email templates to the Mailchimp newsletter integration.
Plainform Email Stack
Plainform uses Resend for transactional email, React Email for templates, Mailchimp for newsletter subscriptions, and rate limiting on public-facing routes. That gives you the core email flows a SaaS product usually needs without mixing marketing email, transactional email, and abuse protection into one fragile custom setup.
Transactional email and marketing email are handled separately because they have different jobs. Resend sends product-critical messages such as order notifications. React Email keeps those messages in the same component model as the rest of the app. Mailchimp handles newsletter subscriptions, where deliverability, audience management, and unsubscribe behavior matter.
The public routes are rate limited so email features cannot be abused easily from the outside.
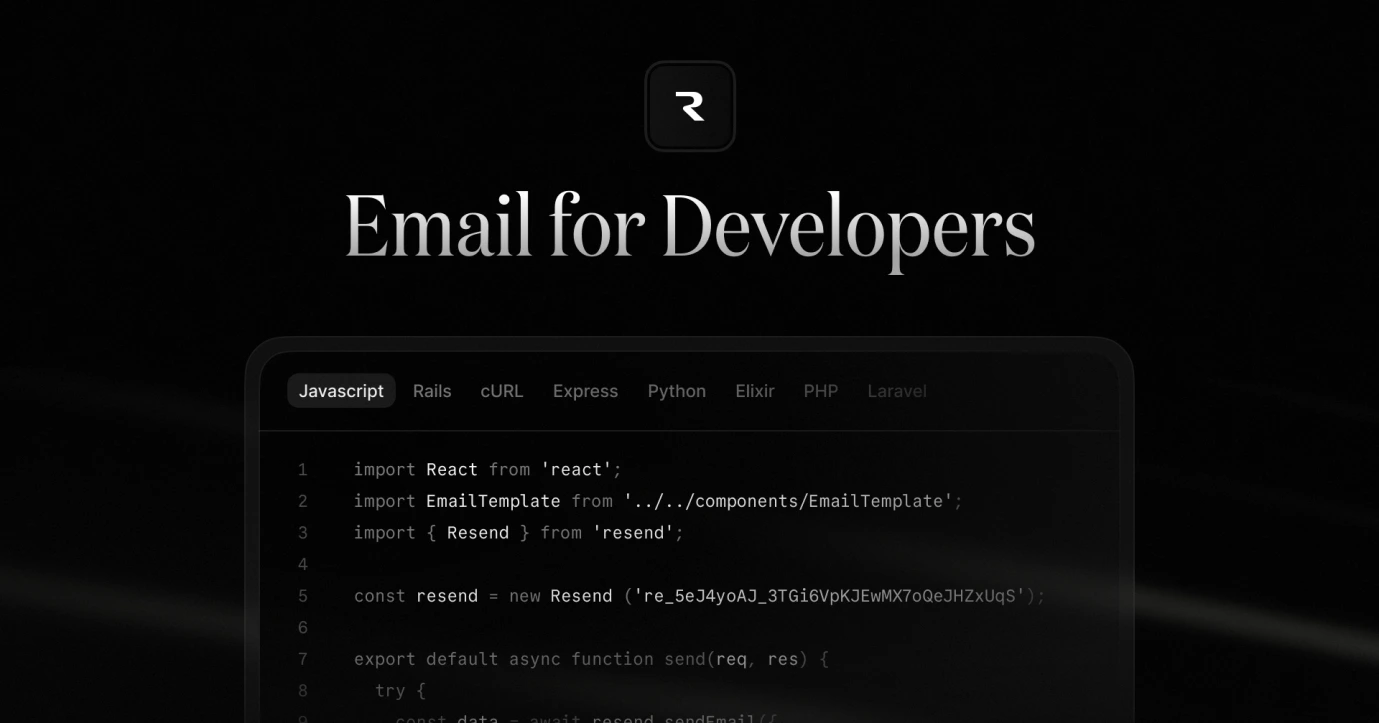
The Foundation: Resend
Plainform uses Resend as its email delivery provider. Resend is a developer-focused email API that makes sending transactional email straightforward. The setup is minimal — a single file initializes the client using your API key from the environment:
import { env } from '@/env';
import { Resend } from 'resend';

export const resend = new Resend(env.RESEND_API_KEY);
That resend instance is imported wherever an email needs to be sent. There is no global provider, no context, no configuration scattered across files. You import it, you call resend.emails.send, and the email goes out.
The reason Resend is the right choice here is the same reason Clerk is the right choice for authentication: email delivery is infrastructure, and infrastructure should be delegated to services that specialize in it. Resend handles deliverability, bounce handling, and DNS configuration. You focus on what the email says.
Email Templates with React Email
Plainform uses React Email to build email templates. The idea is simple: instead of writing HTML email templates by hand (which is notoriously painful), you write React components. React Email provides a set of primitives — Body, Container, Heading, Text, Link, Img, and others — that render to email-safe HTML.
The OrderStatusTemplate component is the main transactional email in Plainform. It handles both success and failure states for order processing:
interface OrderStatusTemplateProps {
  orderStatus: string;
  message: string;
  additionalMessage?: string;
}
The template receives these props and renders a branded email with the Plainform logo, a heading that reflects the order status, a message body, support contact text, and footer links. The same component is used for both accepted and declined payment states.
One practical detail: the template uses Tailwind classes via React Email's Tailwind wrapper. This means you style the email the same way you style the rest of the app, without switching mental models or writing inline styles by hand.
The footer includes links to the blog, terms and conditions, and privacy policy, along with a support email address. This is the kind of thing that is easy to forget when you are building quickly, and it is already there.
Transactional Emails: The Order Flow
The most important place email is used in Plainform is the Stripe webhook handler. When a checkout session completes, the webhook processes the order and sends an email to the customer regardless of whether the order succeeded or failed.
For one-time payments, the webhook handler works through a short set of processing steps:
- Verify the checkout session has a customer email
- Capture the manually authorized payment intent
- Store the final order state in Stripe session metadata
- Send the customer a success or failure email
If any step fails, the payment is cancelled and an email goes out explaining what went wrong:
await resend.emails.send({
  from: siteConfig?.sendEmailFrom,
  to: customerEmail,
  subject: 'We could not process your order.',
  react: OrderStatusTemplate({
    orderStatus: captureResult?.orderStatus,
    message: captureResult?.message,
    additionalMessage: captureResult?.additionalMessage,
  }),
  replyTo: siteConfig?.supportEmail,
});
The from and replyTo fields come from siteConfig, so the boilerplate uses your own sender identity and support address instead of hardcoded Plainform addresses. If a customer replies to the email, it goes to the configured support inbox rather than bouncing off a no-reply address.
When everything succeeds, a different email goes out with the accepted order state. The checkout handler claims an idempotency key before this work starts, so resending the same Stripe checkout event does not send the order email twice:
await resend.emails.send({
  from: siteConfig?.sendEmailFrom,
  to: customerEmail,
  subject: 'Thank you for your purchase! Order processed successfully!',
  react: OrderStatusTemplate({
    orderStatus: 'Order processed successfully!',
    message: 'Thank you for your purchase!',
  }),
  replyTo: siteConfig?.supportEmail,
});
The same template handles both cases. The props control what the customer sees. This keeps the email system simple — one template, two states, clear props.
Newsletter Subscriptions: Mailchimp
The newsletter side of email in Plainform uses Mailchimp rather than Resend. Resend handles transactional email. Mailchimp handles the marketing list. These are different tools for different jobs, and keeping them separate is the right call.
The subscription flow runs through a dedicated API route at /api/newsletter. Despite the path name, this route talks to Mailchimp directly using its REST API:
const customUrl = `https://${mailchimpServer}.api.mailchimp.com/3.0/lists/${mailchimpAudience}/members`;

const response = await fetch(customUrl, {
  method: 'POST',
  headers: {
    Authorization: `Basic ${Buffer.from(`anystring:${mailchimpKey}`).toString('base64')}`,
    'Content-Type': 'application/json',
  },
  body: JSON.stringify({
    email_address: email,
    status: 'subscribed',
  }),
});
The route requires three environment variables: MAILCHIMP_API_KEY, MAILCHIMP_API_SERVER, and MAILCHIMP_AUDIENCE_ID. If any of them are missing, the route returns a server error rather than silently failing. This is the same pattern used throughout Plainform — fail loudly and early rather than quietly at runtime.
Input validation runs before anything hits Mailchimp. The email address is validated with a Zod schema:
export const newsletterSchema = z.object({
  email: z.string().email().trim().toLowerCase(),
});
The .trim() and .toLowerCase() calls are there to normalize the input. A user who types User@Example.com ends up in Mailchimp as user@example.com. This prevents duplicate entries caused by whitespace or capitalization differences.
Rate Limiting
The newsletter endpoint has rate limiting applied before any validation or Mailchimp calls happen:
const identifier = getClientIdentifier(req);
const rateLimitResult = rateLimiters.email(identifier);

if (!rateLimitResult.success) {
  return createRateLimitResponse(rateLimitResult);
}
The email rate limiter allows 3 requests per 60 seconds per client. This is a reasonable limit for a subscription form — a real user will not hit it, but a script trying to flood the endpoint will. The rate limit check runs first, before any other logic, so abusive requests are rejected immediately without touching Mailchimp or doing any unnecessary work.
The addContact Helper
The addContact function is a thin wrapper around the newsletter API route. It is used by the Newsletter component on the front end, the verified sign-up flow, and the Stripe webhook handler after a successful purchase.
export async function addContact(email: string) {
  try {
    const res = await fetch(
      `${env.NEXT_PUBLIC_SITE_URL}/api/newsletter`,
      {
        method: 'POST',
        headers: {
          'Content-Type': 'application/json',
        },
        next: { tags: ['resend/newsletter'] },
        body: JSON.stringify({ email }),
      }
    );

    const json = await res.json();

    if (!res.ok || !json?.ok) {
      return {
        ok: false,
        message: json?.message || 'Failed to subscribe. Please try again.',
      };
    }

    return {
      ok: true,
      message: json?.message || 'Successfully subscribed!',
    };
  } catch (error: unknown) {
    return {
      ok: false,
      message: 'An unexpected error occurred. Please try again.',
    };
  }
}
The function returns a structured { ok, message } response rather than throwing. This is intentional. When addContact is called after sign-up or from the webhook handler after a successful purchase, a newsletter subscription failure should not roll back the primary action. Returning a clear failure object is the right trade-off.
The Newsletter Component
On the front end, the Newsletter component handles the subscription form. It uses React Hook Form with the same Zod schema used on the server side:
const {
  register,
  handleSubmit,
  formState: { errors, isSubmitting },
} = useForm<IFormData>({
  mode: 'onTouched',
  resolver: zodResolver(newsletterSchema),
});
Validation runs client-side before the request is made. If the email is invalid, the user sees an error inline without a network round trip. If the request succeeds, a toast notification confirms the subscription. If it fails, the error message from the API response is shown in the toast.
The component accepts children and buttonText as props, which makes it reusable across different parts of the site without duplicating the form logic.
How It All Fits Together
The email system in Plainform is split cleanly across two concerns:
- Transactional email goes through Resend, using React Email templates that are easy to read, style, and extend
- Newsletter subscriptions go through Mailchimp, with Zod validation and rate limiting protecting the endpoint
The addContact helper bridges both worlds — it is called from the newsletter form, the verified sign-up flow, and the post-purchase webhook, so users and customers can be added to the list without duplicating Mailchimp logic.
When you clone Plainform and add your Resend and Mailchimp credentials to the environment variables, all of this works immediately. The order confirmation emails, the failure notifications, the newsletter form, the rate limiting — it is all there and wired together correctly.
Email is not the interesting part of your product. Plainform makes sure it is never the thing slowing you down.