The Next.js App Router is not just a new folder structure. It changes how routing, data fetching, rendering, and layouts work at a fundamental level.
If you have been building with the Pages Router and are looking at App Router for the first time, the mental model shift is real. And if you are starting a new SaaS project, understanding what the Next.js App Router gives you — and what it asks of you — will save you a lot of time.
This post covers how the Next.js App Router works in practice, using Plainform as a real example. You will see how route groups, nested layouts, Server Components, metadata, and API routes fit together in a production SaaS application.
The File System Is Your Architecture
The Next.js App Router uses the app/ directory. Every folder inside it can be a route segment. A file named page.tsx inside a folder is what actually renders for that route.
Your folder structure becomes your routing architecture. Decisions about where to put files are also decisions about URL structure, layout inheritance, and rendering scope.
In Plainform, the app/ directory looks like this:
app/
├── (auth)/
├── (base)/
├── (home)/
├── api/
├── docs/
└── layout.tsx
Each folder represents a distinct section of the product. The parentheses around some of them are not a coincidence — that is one of the first Next.js App Router features worth understanding.
Route Groups and Layouts
What route groups are
Route groups are folders whose names are wrapped in parentheses, like (auth) or (base). The parentheses tell Next.js to exclude that folder name from the URL.
A file at app/(base)/blog/page.tsx is accessible at /blog, not /base/blog. The (base) folder exists purely to organize files and apply a shared layout — it does not appear in the URL at all.
Why they matter for SaaS
Different sections of a SaaS product typically need different layouts. In Plainform:
(auth)contains the sign-in, sign-up, and forgot-password pages. They share a layout that shows only the logo and a decorative side panel.(base)contains the marketing pages, blog, legal, and order page. They share a layout that includes the navigation bar and footer.(home)contains the documentation landing page with its own layout.
Without route groups, achieving this in the Pages Router required custom _app.tsx logic and manual layout switching. With the Next.js App Router, you put the pages in the right folder and the layout applies automatically.
Here is the (base) layout, which adds navigation and footer to every marketing page:
import { Footer } from '@/components/Footer';
import { Navigation } from '@/components/Navigation';

export default function BaseLayout({
  children,
}: Readonly<{
  children: React.ReactNode;
}>) {
  return (
    <>
      <Navigation />
      {children}
      <Footer />
    </>
  );
}
And the (auth) layout, which has a completely different structure:
export default function AuthLayout({
  children,
}: Readonly<{
  children: React.ReactNode;
}>) {
  return (
    <>
      <div className="w-full h-[3.5rem] absolute top-0 px-20 flex items-center">
        <Logo withText />
      </div>
      <Section className="h-screen flex-row gap-0 pr-0 w-full">
        {children}
        <aside className="w-[60%] border-l h-full flex items-center justify-center">
          <div className="w-full h-full bg-[url(/1.webp)] bg-cover" />
        </aside>
      </Section>
    </>
  );
}
Two completely different layouts, both applied automatically based on which route group the page lives in. No conditional rendering in a shared _app.tsx.
The root layout and nesting
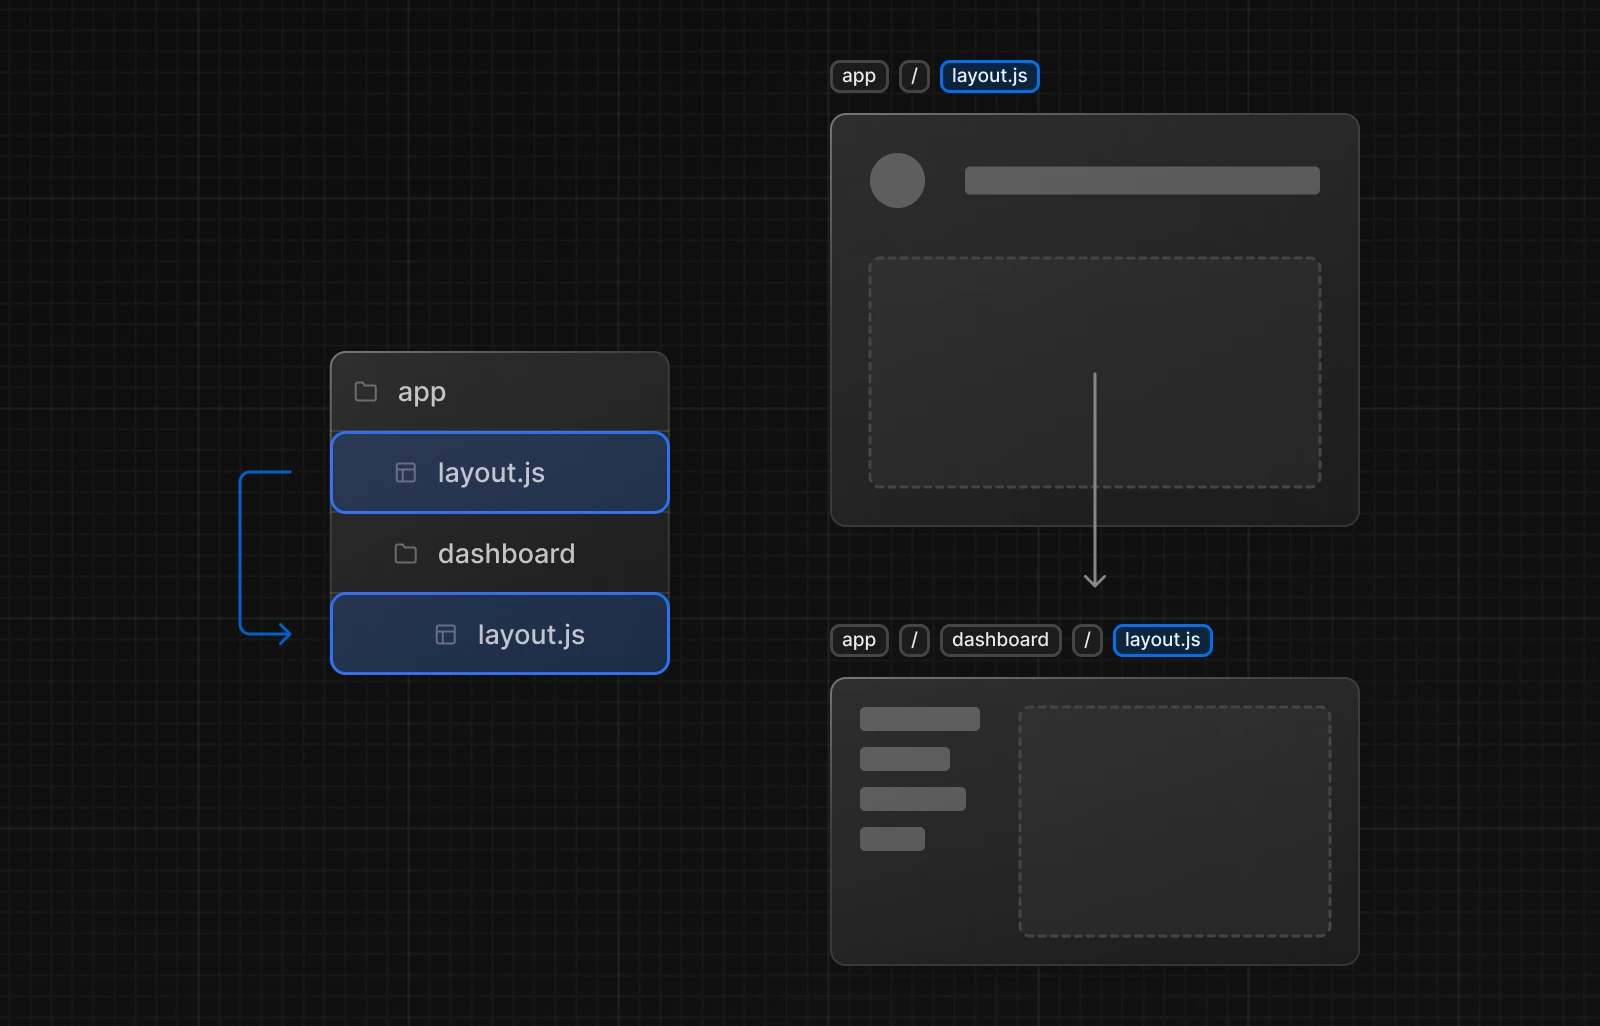
The Next.js App Router builds layouts by nesting them. The root app/layout.tsx wraps everything. Layouts inside route groups or nested folders wrap only their subtree.
Plainform's root layout handles things that apply to every single page: font loading, global CSS, theme providers, the cookie banner, and toast notifications.
export default function RootLayout({ children }: { children: React.ReactNode }) {
  return (
    <html lang={siteConfig.locale} suppressHydrationWarning>
      <body className={`${spaceGrotesk.variable} ${inter.className} antialiased`}>
        <CookieBanner />
        <Providers>{children}</Providers>
        <Toaster />
      </body>
    </html>
  );
}
Every page gets this wrapper. The route group layout adds its own layer on top. The blog page gets root layout plus (base) layout. The sign-in page gets root layout plus (auth) layout. You only define what is specific to each level and let the rest come from above.
Server Components by Default
How they work
In the Next.js App Router, every component is a Server Component by default. Server Components render on the server, never ship their code to the browser, and can do things client components cannot — like reading directly from a database or calling a private API.
The Plainform blog listing page is a Server Component. It fetches post data directly at render time:
export default async function Blog({ searchParams }: IParams) {
  const queryParams = await searchParams;
  const category = queryParams.category;
  const data = await getBlogPosts(category);

  if (!data) {
    notFound();
  }

  const { featuredPost, posts } = data;

  return (
    // JSX using featuredPost and posts
  );
}
No useEffect. No loading state. No API call from the browser. The data is fetched on the server and the rendered HTML is sent to the client.
When to use client components
When you need interactivity — event handlers, browser APIs, React hooks — you add 'use client' at the top of the file. That tells Next.js to ship that component's code to the browser and hydrate it on the client side.
The key is to keep 'use client' boundaries as narrow as possible. A page can be a Server Component that fetches data, while a button inside it is a Client Component that handles a click. They can live in the same file tree with different rendering strategies.
Metadata and SEO
The Metadata API
SEO in the Next.js App Router is handled through the Metadata API. You export a metadata object or a generateMetadata function from any page.tsx or layout.tsx, and Next.js uses it to generate the <head> tags.
Plainform's root layout sets global defaults:
export const metadata = {
  metadataBase: new URL(env.NEXT_PUBLIC_SITE_URL),
  title: {
    template: `${siteConfig.siteName} | %s`,
    default: siteConfig.siteName,
  },
  description: siteConfig.description,
  alternates: {
    canonical: '/',
  },
  openGraph: {
    images: [
      {
        url: `${env.NEXT_PUBLIC_SITE_URL}/opengraph-image.png`,
        width: 1280,
        height: 628,
      },
    ],
  },
};
The title.template field is particularly useful. Any page that sets title: 'Blog' will automatically get Plainform | Blog in the browser tab, without each page repeating the site name.
Dynamic metadata for content pages
For dynamic pages like individual blog posts, generateMetadata fetches the post data and returns metadata based on it:
export async function generateMetadata({ params }: IDynamicPageParams) {
  const { slug } = await params;
  const page = blogSource.getPage(slug);

  return {
    title: page?.data?.title,
    description: page?.data?.summary,
    alternates: {
      canonical: page?.url,
    },
    openGraph: {
      title: page?.data?.title,
      description: page?.data?.summary,
      images: [{ url: page?.data?.img, width: 1280, height: 628 }],
    },
  };
}
Each blog post gets its own title, description, canonical URL, and Open Graph image — all generated from the post's frontmatter with no manual configuration per post.
API Routes
Structure and conventions
API routes in the Next.js App Router live in app/api/ and export named functions for each HTTP method. The function name matches the method: GET, POST, PUT, DELETE.
Here is the Stripe checkout route from Plainform, which handles the form submission from the pricing page:
export async function POST(req: NextRequest) {
  const identifier = getClientIdentifier(req);
  const rateLimitResult = rateLimiters.strict(identifier);

  if (!rateLimitResult.success) {
    return createRateLimitResponse(rateLimitResult);
  }

  const formData = await req.formData();
  const priceId = formData.get('priceId')?.toString();

  if (!priceId) {
    return NextResponse.json(
      { message: 'Invalid request. Please try again.', ok: false },
      { status: 400 }
    );
  }

  try {
    const session = await stripe.checkout.sessions.create({ /* ... */ });
    return NextResponse.redirect(session.url!, { status: 303 });
  } catch (error) {
    return NextResponse.json(
      { message: 'An error occurred. Please try again later.', ok: false },
      { status: 500 }
    );
  }
}
Patterns to follow
Rate limiting runs before any business logic. If the request is not valid, the function returns early with a clear error. If everything succeeds, the user is redirected to Stripe's hosted checkout page with a 303 status, which tells the browser to follow the redirect with a GET rather than a POST.
The pattern is consistent across all API routes in Plainform: validate early, return specific errors, use the correct HTTP status codes.
Dynamic Routes and Static Generation
Dynamic route segments
The Next.js App Router supports dynamic routes through folder names with square brackets, like [slug] or [...slug]. The value in the brackets is available as a param inside the page component.
Pre-rendering with generateStaticParams
For content-driven pages, you can pair dynamic routes with generateStaticParams to pre-render them at build time. Plainform's blog post page does this:
export async function generateStaticParams() {
  return blogSource.generateParams();
}
At build time, Next.js calls generateStaticParams, gets the list of all blog post slugs, and pre-renders each one. The result is a static HTML file per post served instantly from the CDN, with no server rendering on each request.
For pages that need fresh data on every request, skip generateStaticParams and let them render dynamically. For content that changes rarely, static generation is almost always the right call.
Final Thoughts on the Next.js App Router
The Next.js App Router takes some time to internalize, especially the Server Component model and the way layouts nest. But once it clicks, it makes a SaaS application significantly easier to structure and maintain.
Here are the key things to remember:
- Use route groups to organize sections by layout without affecting URLs
- Keep
'use client'boundaries as narrow as possible - Let the Metadata API handle SEO instead of managing head tags manually
- Use
generateStaticParamsfor content that does not change on every request
In Plainform, all of this is already set up. The route groups, nested layouts, metadata config, and API route patterns are all in place. When you add a new page or section, you follow the same structure and it works.
If you want to see a complete working example in a production SaaS setup, Plainform has the full Next.js App Router structure alongside authentication, payments, email, and storage — everything you need to ship a product.